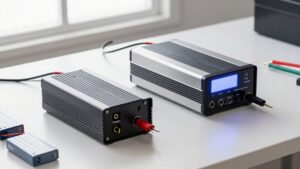
How to Balance Charge a LiPo Battery and Keep Cells Even
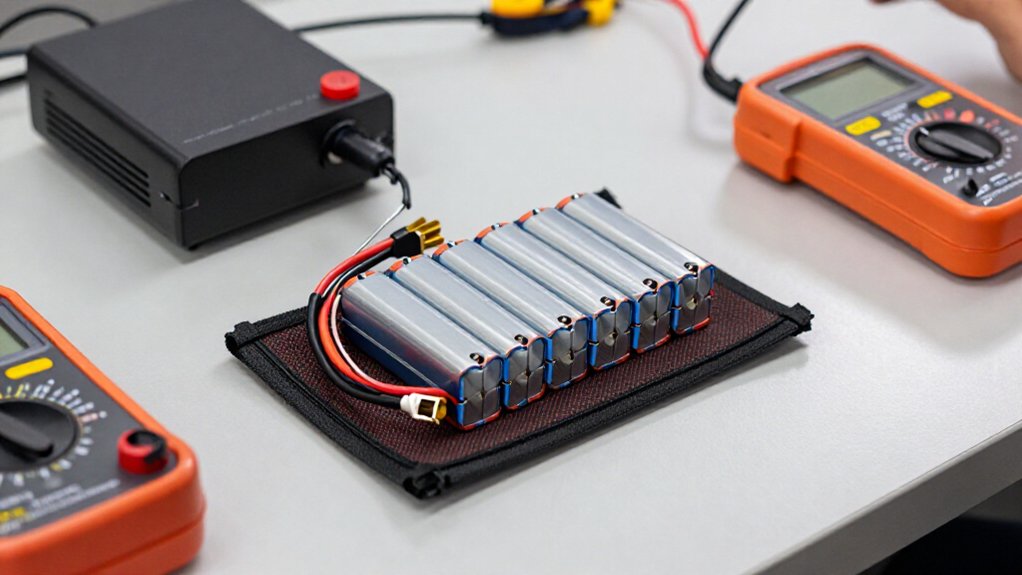
To balance-charge a LiPo, inspect the pack for swelling, damage, or unusual heat, then place it on a stable, nonflammable surface and stay present.
Select the correct chemistry, cell count, and Balance Charge mode; set current near 1C unless the manufacturer specifies otherwise. Connect both the main and balance leads, matching the connector orientation without forcing it.
Confirm every cell reading is present and plausible, then monitor temperatures and voltages until charging completes.
Store cells near 3.8–3.85 V each. Further steps help troubleshoot errors.
Balance-Charging Time Estimates
How long should a LiPo balance charge take? At approximately 1C, replacing the pack’s capacity takes about an hour, but a complete balance charge usually takes longer. A 5,000mAh pack charged at 5A may need more than an hour, depending on its starting charge and cell balance.
Near full voltage, your charger may reduce current while lower-voltage cells catch up. Raising the main current may not shorten this balancing stage. Charging can stretch to hours if cells are seriously imbalanced, the charger’s balance current is low, or a cell or balance connection is abnormal.
Your pack’s cell count, charger power, battery age, and temperature also affect the estimate. Follow the charger’s settings, supervise the process, and wait for its completion signal before unplugging.
Inspect Battery Condition
Before starting a balance charge, inspect the pack and confirm its label identifies a chemistry and cell count your charger supports. Then use only a matching charger mode, and examine the main connector, wires, and balance plug before connecting anything.
- Reject any pack that’s swollen, punctured, crushed, leaking, unusually hot, smoking, hissing, or emitting a chemical odor.
- Check for melted plastic, exposed wires, reversed polarity, or damaged contacts; don’t charge if you find them.
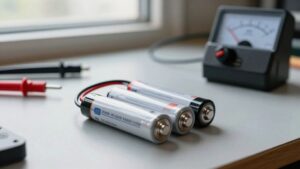
- Measure individual cell voltages. Repeated differences may signal aging, a weak cell, or a faulty balance connection.
Balance charging can correct limited voltage differences, but it can’t repair damage or restore a pack with permanently increased internal resistance. Treat persistent imbalance as a serious fault, not a charging problem.
Step 1: Prepare a Fire-Safe Surface
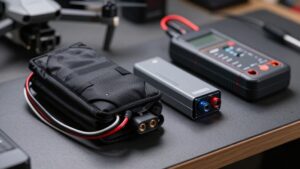
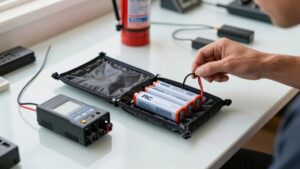
Set the battery and charger on a stable, non-flammable surface away from combustible materials and conductive objects. Keep the area clear and dry, and position the charger so its cooling vents remain unobstructed.
Place the battery where you can observe it throughout the charge; don’t leave the room or rely on a timer. If the battery, connectors, or leads become unusually hot, or you notice another problem, stop charging immediately and disconnect power safely. Never charge a swollen, punctured, crushed, leaking, or otherwise damaged pack; remove it from service instead. When charging finishes, disconnect the battery and keep it separated from loose metal items. Don’t place tools, spare hardware, or other conductive items within reach of the leads. Keep cables tidy to prevent accidental contact.
Step 2: Verify Chemistry and Cell Count
Read the battery label to confirm its chemistry—standard LiPo, LiHV, LiFe, or Li-ion—because each has different voltage limits. Select the charger mode only after this check. For a standard LiPo, use LiPo mode; each cell is nominally 3.7V and normally charges to about 4.20V. A specified LiHV cell may charge to about 4.35V, so don’t apply that limit to another chemistry.
Read the pack’s S rating to determine its series cell count. For example, a 4S standard LiPo reaches about 16.8V when fully charged. Set the matching cell count on your charger, then confirm its detected count agrees before starting. Stop if values differ; check your charger settings rather than guessing. A 1S pack has one cell and doesn’t require cell balancing.
Step 3: Connect the Balance Plug
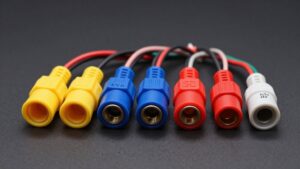
For a conventional multi-cell LiPo, connect both the main power lead and the balance plug so the charger can monitor each cell group. The main lead carries most charging current; the balance lead gives the charger access to each series cell group. Before connecting, inspect the balance contacts and charger port for damage.
Hold the plug by its housing, not its wires, and match it to the correct charger port or balance board. Check the connector’s orientation and alignment, then insert it gently; don’t force, offset, or reverse it. If you find damage, don’t bypass the balance lead: stop and address the fault before charging. Follow your charger’s specified connection and disconnection order, and stay present throughout charging so you can respond promptly to abnormal conditions.
Step 4: Select LiPo Balance Charge
Once both leads are connected as your charger requires, select LiPo Balance Charge, choose standard LiPo chemistry, and enter the pack’s series count, such as 4S. Set the charge current near 1C unless the battery maker specifies a different safe rate. For a 2200 mAh pack, 1C equals 2.2 A; confirm the charger’s current setting before proceeding.
Verify that its detected cell count matches the count you entered, and make sure the display shows cell-voltage readings. If the count differs, stop: don’t start charging, and recheck the pack specification, connections, and selected program. Keep the battery on a nonflammable surface, remain nearby, and never leave charging unattended. Don’t bypass a damaged balance lead; discontinue use until you can replace or safely repair it. Start only when settings and connections are correct, and follow the battery and charger instructions.
Step 5: Compare Individual Cell Voltages
During charging, compare each cell’s displayed voltage rather than relying on the pack total, which can hide an imbalance. Check the readings and when charging completes. A standard LiPo cell should finish near 4.20V; a balanced 4S pack measures about 16.8V, with its four cells close to 4.20V each.
If one cell reaches the upper limit first, your charger may reduce current while the lower cells catch up. This may be normal, but watch whether the gap narrows. Investigate any cell that remains noticeably higher or lower than its neighbors, especially if the difference persists or grows over repeated charges. A persistent outlier may signal a weak or aging cell, or a balance-connection problem. Balancing can correct small differences, but it can’t repair cell damage.
Step 6: Power Down Charger First
When charging finishes, follow your charger’s shutdown sequence; if it directs you to power down first, switch the charger off before disconnecting the battery leads. Wait until the charger indicates that the cycle has ended, then use its controls to shut it down; don’t assume that a silent display means output is off.
Powering down first helps prevent you from interrupting an active balance-charge cycle and reduces the chance of handling live connections.
Once the charger is off, remove the main power plug and balance plug in the order your manual specifies. Grip each connector by its housing, and pull straight without tugging, twisting, or stressing the wires. Keep the disconnected pack clear of metal tools and other conductive objects. Don’t leave it attached to the charger after charging; verify both leads are free before putting the charger away. Store the charger only after you’ve completed these checks safely.
Check Pack Temperature Afterward
After disconnecting the pack, check its temperature and compare it with how it felt before charging.
Because you kept the battery on a stable, non-flammable surface during charging, you can inspect it without moving it. Check the pack and its connectors by touch. A noticeable temperature rise may not be normal. Heat can signal a charging problem and can damage LiPo cells.
If the battery or any connector feels unusually hot, stop charging immediately. Don’t use or recharge the pack until you’ve assessed its condition and resolved the cause. Let it cool in a safe area, then follow the battery and charger manufacturer’s guidance before deciding whether it’s fit for service. Record the temperature change and any observations so you can track recurring issues.
Balance Lead Detection Errors
If your charger reports a balance-lead or cell-count error, stop charging and check that the balance plug is fully seated in the correct port, aligned properly, and not reversed or offset.
Never force the connector; inspect contacts and wires for damage, looseness, or reversed polarity, then check the charger port or balance board. Confirm detected cell count matches your pack’s S rating; a conventional multi-cell balance plug usually has one more wire than cells.
| Check | Action |
|---|---|
| Missing or implausible readings | Don’t bypass balance lead |
| Persistent errors | Inspect lead and wiring |
The main lead alone can’t monitor each series cell group. Persistent errors may indicate damaged wiring; balance charging can’t repair a faulty cell. Resolve the fault before reconnecting and resuming any charge. Verify setup before retrying.
Store at 3.8v per Cell
For storage, use your charger’s storage mode to bring each LiPo cell to about 3.8–3.85 V. A 4S pack should sit at roughly 15.2–15.4 V total, but check individual cell readings; the total alone can hide an imbalance. Storage mode may charge or discharge the pack to reach its target.
If it discharges, allow extra time: many chargers have limited discharge power. Don’t leave the pack fully charged for extended periods. If you won’t use it within a day or two, return it to storage voltage. Use a fire-resistant, supervised charging area, and follow your pack and charger instructions throughout the process. Connect the balance lead as required, select the correct cell count, and verify that no cell exceeds the manufacturer’s limits before disconnecting.
Conclusion
Balance-charging keeps LiPo cells aligned, but safe handling matters at every step. Inspect the pack, confirm its chemistry and cell count, and connect the balance lead with the charger powered down. Charge on a fire-safe surface, monitor temperature, and stop if you notice swelling, damage, or unusual heat. If the charger reports a balance-lead error, disconnect and check the connections. After use, store the pack at about 3.8 volts per cell, following your charger’s guidance.