How to Charge an RC LiPo Battery Safely Every Time
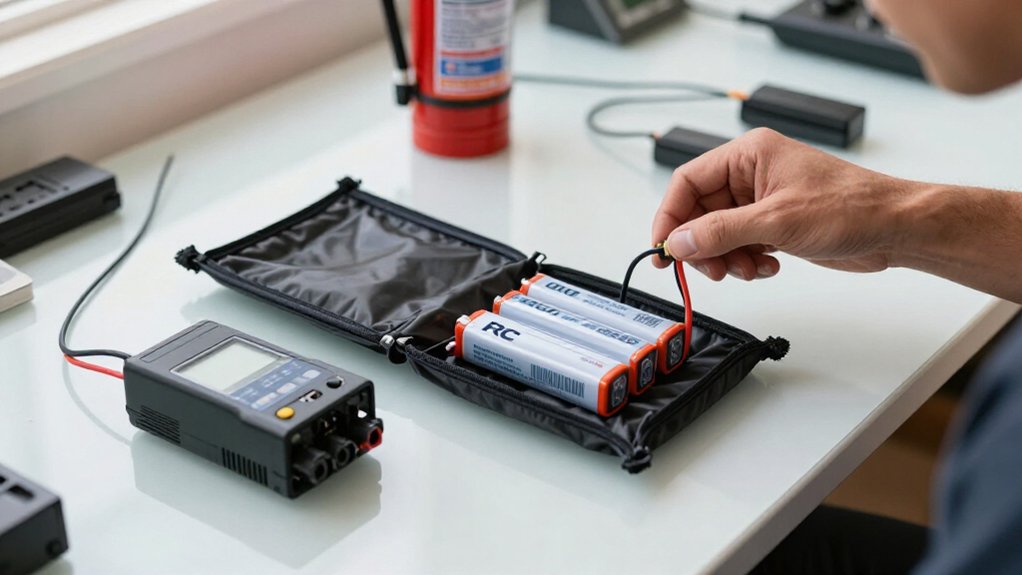
Confirm your pack’s chemistry, cell count, and charger settings; inspect the battery and leads for damage. Clear flammables, enter the labeled capacity, and set a manufacturer-approved charge rate.
Connect the main lead, then the balance lead, and select balance-charge mode.
Monitor every cell; stop for warnings, abnormal readings, heat, or swelling. When charging ends, verify each cell is no higher than 4.20 V, disconnect, cool, and store at recommended voltage.
A log means you’ll spot problems.
Battery Chemistry and Voltage Checks
Before connecting a battery, confirm its chemistry from the label or manual; LiPo, NiMH, and Li-ion batteries require different charger settings. For a standard LiPo, each cell has a nominal voltage of 3.7 volts and must not exceed 4.2 volts when fully charged. A 3S pack is 11.1 volts nominal and reaches 12.6 volts fully charged.
Check the pack’s marked S count, then set your charger to match it before charging. Next, check every cell’s voltage in a multi-cell pack. Don’t charge if any cell falls below the manufacturer’s minimum, often 3.3 volts. Use the battery’s cell readings to verify each cell meets that limit and stays within the charging range. Confirm your charger displays the correct chemistry, cell count, and voltage limits before you start.
Charger Balance-Lead Inspection
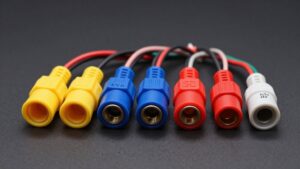
Once the charger’s chemistry, cell count, and voltage settings match the pack, inspect the balance lead and plug for frayed wires, loose pins, bent contacts, or damaged insulation. Check that the connector matches your charger’s port and the pack’s cell count; never force a mismatched plug. For packs with two or more cells, use the balance lead so the charger can monitor each cell’s voltage and balance the pack.
- Carefully inspect each wire and contact before connecting anything.
- Stop if you find damage; don’t charge until you’ve safely repaired or replaced the lead.
- Connect the battery’s power lead first, then attach the balance lead following the charger’s and battery’s instructions.
- Confirm the plug seats securely without pressure; verify the connection before starting the charge.
Step 1: Clear Nearby Flammable Materials
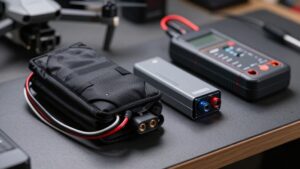
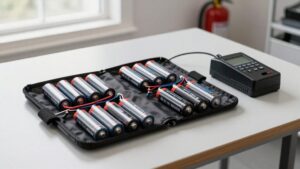
Choose a cool, dry charging location on a ceramic, metal, or UL94 V-0 surface, clear of paper, fabric, fuel, curtains, furniture, and other flammable materials. Keep the area uncluttered so a fire-resistant LiPo bag or case can hold the battery without crowding, and leave room for its cables.
Place the charger and battery well away from curtains, furniture, and anything else that could ignite; don’t treat a bag as a substitute for clearing hazards. Choose a position with a clear route to a nonflammable area, such as a concrete floor or metal tray, so you can move the setup promptly if needed. Don’t charge beside stored fuel or loose packaging, and keep the surrounding floor clear of items that could obstruct quick, safe immediate relocation.
Step 2: Enter Battery Capacity
With the charging area clear, enter the battery’s capacity and cell count exactly as shown on its label. Enter capacity in mAh or Ah, preserving the listed value; for example, 2,200 mAh equals 2.2 Ah. Set capacity and cell count in the charger to match the label, so it can apply the correct charge limits.
For a 1C rate, set current in amps equal to capacity in amp-hours: a 1,500 mAh battery (1.5 Ah) calls for 1.5 A. Follow the manufacturer’s maximum charge rate. If none appears on the label or in its instructions, 1C is a common conservative LiPo setting. With a compatible Smart battery and charger, the charger may identify capacity automatically, so you might not need to enter it.
Step 3: Connect Battery to Charger
Before connecting anything, confirm that your charger supports LiPo batteries and the pack’s cell count, voltage, and connector. Inspect the battery, leads, and connectors. Don’t connect a swollen, cracked, punctured, or otherwise damaged pack; isolate it and follow disposal guidance.
Connect the battery’s main power lead to the charger first. If the plugs don’t match, use a compatible adapter; never force mismatched connectors. For a multi-cell pack, connect its balance lead to the matching charger port only after attaching the main lead. Align each plug with the correct polarity and seat it securely without pulling on the wires. Before starting, verify that connections are secure and no lead is pinched, exposed, or contacting conductive objects.
Step 4: Select Balance-Charge Mode
Before you start, verify the displayed cell count and each cell voltage. Stop if the count is wrong or any reading is unexpectedly low; don’t proceed until you’ve checked the setup and battery condition. Follow the manufacturer’s instructions for any fault or abnormal reading. A mismatch can indicate an incorrect setting, poor connection, or damaged cell, so resolve it before charging under safe conditions.
Step 5: Set Manufacturer-Approved Charge Rate
Set the charge current from the battery label or manufacturer’s instructions, and use a lower rate if you’re unsure. Find the pack’s maximum approved C-rate before entering a value on your charger. If the instructions don’t specify a higher rate, use 1C: the current in amps equals the battery’s capacity in amp-hours. For example, charge a 1,500 mAh pack at 1.5 A.
Never exceed the pack’s stated C-rate, even if your charger can deliver more current. Faster charging is suitable only when the manufacturer explicitly approves it for that battery. Before starting, confirm that the charger’s current limit matches your selected setting. Check that the battery leads and connectors are rated to carry that charge current; don’t assume their rating based on appearance alone.
Step 6: Disconnect Leads and Store Safely
Once charging is complete, disconnect the power and balance leads by their connectors, not by pulling the wires, and let the battery cool before use or storage. Inspect each connector and lead for damage before putting the pack away. For a multi-cell LiPo, check each cell’s voltage and use your charger’s storage function to reach the manufacturer-recommended storage level, typically about 3.8 volts per cell.
Store the battery in a cool, dry place away from children and pets. If you won’t use it soon, don’t leave it fully charged for more than a day or two. If it’s swollen, cracked, or otherwise damaged, keep it separate from usable packs and take it to a local battery-recycling center instead; never put it in household trash.
Confirm Each Cell Reaches 4.20v
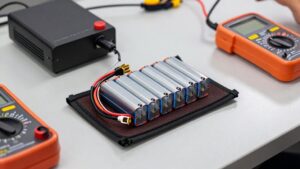
During charging, verify that every cell reaches—but never exceeds—4.20 V. Use a balance-capable LiPo charger, which monitors each cell and brings the cells into balance as they approach full charge. Watch the individual cell-voltage display; the pack’s total voltage can look acceptable even when one cell has crossed its limit.
For a standard LiPo, 4.20 V is the maximum charge voltage per cell. A fully charged pack’s expected total equals 4.20 V multiplied by its cell count: a 4S pack, for example, totals 16.80 V.
Don’t rely on that total alone. Stop charging if any cell exceeds 4.20 V, or if the battery becomes unusually warm, swells, or shows damage. Keep the pack under observation until charging ends, then handle it carefully.
Charger Error Code Guide
When your LiPo charger reports an error, stop and identify the cause before restarting. Check the display against the pack and charger specifications; never bypass a warning.
| Error | Safe response |
|---|---|
| Cell low voltage | Check every cell; don’t charge below the specified minimum, often 3.3 V. |
| Cell count or connection | Verify labeled count, polarity, and balance-port fit; a full cell reaches 4.2 V, so 3S is 12.6 V. |
For high resistance or imbalance, compare individual-cell readings. Stop if one cell sits substantially lower, or the pack looks damaged. A loose or reversed balance lead can trigger errors; correct it before restarting. If the warning persists, consult your charger manual. Never charge a swollen, damaged, or unusually hot battery. Your caution can prevent a small fault from becoming a fire and others.
Log Charge Cycles
Logging each charge helps you spot changes in battery health before they become safety problems. Record the date, battery ID, capacity, cell count, charger mode, and charge current for every session. Note starting and ending cell voltages; no cell should exceed 4.2 V when fully charged.
Track cycle count and record unusual heat, swelling, voltage imbalance, or reduced capacity. Log storage voltage after use; LiPo cells are typically stored near 3.8 V per cell, rather than left fully charged. Review entries over time: reduced flight time or one cell repeatedly finishing much lower than others can indicate declining health. If you see these trends, stop using the pack and assess it before flight. Keep your log with the battery so you can verify its history.
Conclusion
When you charge an RC LiPo, verify its chemistry, cell count, condition, and balance lead before selecting settings. Keep the charging area clear, use a compatible balance charger, and never leave the pack unattended. Stop if you see swelling, damage, unusual heat, or an error code; don’t bypass warnings. Confirm every cell reaches its limit, then disconnect and store the battery safely. Log cycles so you can spot changes early and retire compromised packs.