RC Battery Connector Chart: XT60, XT90, EC5, Deans and Traxxas iD
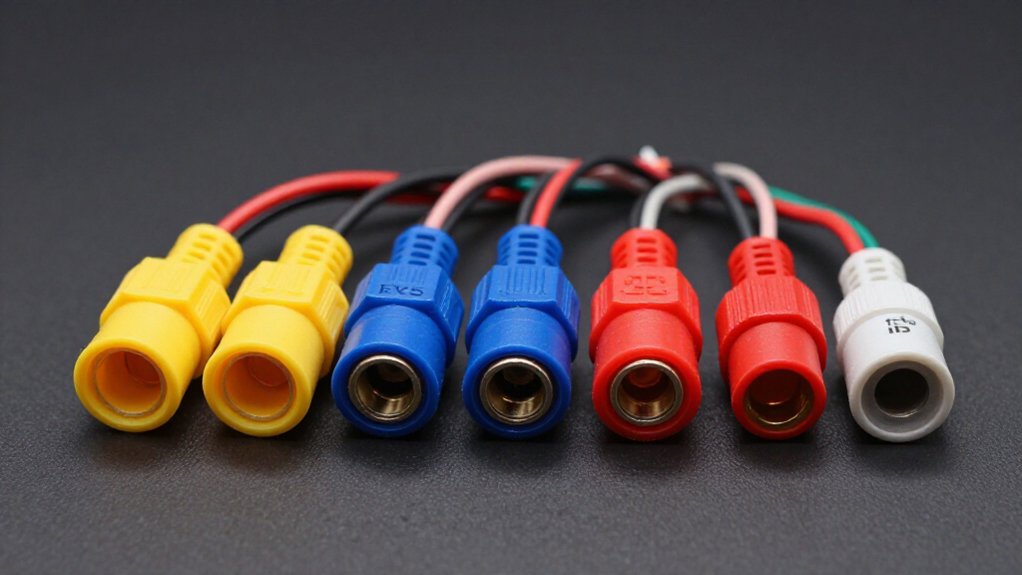
Match your battery’s discharge plug to the adapter input, then match the adapter output to your ESC or charger. XT60, XT90, EC5, Deans/T-plug, and standard TRX adapters aren’t interchangeable by assumption; direction matters, and Traxxas iD is a separate charging system.
Check connector polarity, component ratings, and wire condition before connecting power. For LiPo charging, connect both discharge and balance leads. The chart below clarifies adapter choices, current limits, hardcase connections, and iD identification.
Connector Compatibility at a Glance
Connector Compatibility at a Glance
Because RC battery connectors vary by brand and type, match the battery’s male discharge plug—XT60, XT90, EC5, or Deans/T-plug—to an adapter with a female output that fits the ESC or vehicle.
You can find XT60 adapters for T/Deans, EC5, XT90, and TRX equipment, while XT90 adapters cover EC5, XT60, and TRX connections. EC5 adapters connect with XT60, XT90, or TRX systems; T/Deans adapters are listed for XT60 and TRX.
For a Traxxas vehicle, a TRX adapter can link a compatible XT60, XT90, EC5, or T/Deans battery. For parallel setups, select an adapter that matches both batteries; XT90 and EC5 versions are listed for two batteries sharing that plug type. Check adapter fit and intended configuration, then follow battery and vehicle manufacturers’ instructions.
Connector Polarity and Gender Chart
Connector gender describes the plug and socket; it doesn’t confirm polarity. Before you connect a battery to an ESC or charger, inspect the connector shape and positive/negative markings. Match the adapter’s output to the device’s plug, then verify polarity; a reversed connection can damage equipment.
| Battery-side plug | Matching output |
|---|---|
| XT90 male | EC5 female |
| EC5 male | XT90 female |
| XT60 male | XT90 or EC5 female |
Adapter listings identify both ends: for example, XT90 male to EC5 female (ADPXT90TEC5) and EC5 male to XT90 female (ADPEC5TXT90). XT60-to-XT90 and XT60-to-EC5 adapters provide female outputs.
T/Dean male adapters may offer XT60 or TRX female outputs; XT60 male adapters may offer T/Dean, EC3, TRX, XT90, or EC5 female outputs. Don’t infer electrical orientation from gender. Check markings before every connection.
Battery Connector Naming Conventions
To identify RC battery plugs, read the connector family and size together: XT30, XT60, and XT90 are XT-series types, while EC3, EC5, and EC8 belong to the EC series. The number distinguishes a size class; it isn’t a universal guarantee of fit or compatibility, so check the product listing and connector dimensions before you connect a pack. Deans may also appear as T-plug or T/Dean.
An adapter label such as “T/Dean to XT60” names the connector at each end, while listings typically put the battery-side plug first and destination plug second: “XT90 male to EC5 female.” Match the listed genders and verify polarity before use; a familiar name alone doesn’t confirm a safe connection. TRX means Traxxas-style; Traxxas iD names a separate connector system.
Typical Current Ratings
When you compare current ratings, you’ll find XT60 connectors typically handle about 30 to 60 A, while XT90 connectors suit currents above 90 A. EC5 connectors commonly serve 80 to 120 A demands; Deans and Traxxas iD ratings vary by model. Treat these ranges as typical, and verify the connector, wiring, and operating conditions before use.
XT60 Current Rating
XT60 connectors typically suit moderate-power RC setups drawing about 30 to 60 A. Many manufacturers and hobby references describe an XT60 as rated for up to 60 A, but treat that figure as a limit, not a guarantee for every installation. Your safe operating current depends on wire gauge and condition, connector quality, airflow, and how long and demanding each load is.
Before you install one, compare the connector’s capacity with expected continuous and peak current. Leave headroom to limit heat buildup during normal operation and brief peaks. Verify battery, ESC, and wire ratings too; the XT60’s rating alone can’t establish a safe limit. Inspect solder joints, then monitor temperatures during operation. If a component has a lower rating, use that limit for your target.
XT90 Current Rating
XT90 connectors are common in high-current RC setups, and the “90” indicates a typical class—not a guaranteed continuous-current rating.
Your actual safe current depends on connector quality, wire gauge and condition, cooling, and how long the load continues. Check the manufacturer’s rating for your specific connector; don’t assume every XT90 can sustain the same current. Before you install one, confirm that your battery, wiring, and connected equipment are all rated for the expected current. Exceeding a component’s limit can overheat conductors or contacts, increase resistance, and create a fire risk, especially during sustained operation or when airflow is restricted.
EC5 Current Rating
EC5 connectors typically suit current demands of about 80 to 120 A, but that range isn’t a guaranteed rating for every connector. Treat it as a guide when you select a plug for your RC battery system, not as permission to draw the maximum continuously. Your connector’s construction affects how well it carries current, while wire gauge and heat limits also shape safe operation.
Check the specifications for your EC5 plug and wiring, then compare them with the system’s expected load. If your setup approaches the range’s upper end, monitor temperatures during use and allow margin rather than assuming the connector will remain cool. Match the EC5 to your current demand; an undersized or poorly wired connection can overheat, damage equipment, or create a fire hazard.
Deans Current Rating
Deans (T-plug) connectors offer a compact design and low electrical resistance, but there’s no single current rating that applies to every model and setup. Because manufacturers may set different limits, check the specification for your exact connector and setup; don’t assume a typical value. Match the connector and wiring to expected current, with margin for peak loads.
Actual handling also depends on wire gauge, connection quality, and heat dissipation. A rating measured with different wiring or conditions may not apply to your installation. After use, check for loose contacts, discoloration, or heat, which can signal resistance or overload. If you can’t verify the rating or control temperatures, reduce current demand or choose a connection rated for your needs. Don’t infer capacity from the Deans shape alone.
Traxxas iD Current Rating
For Traxxas iD connectors, check the connector or battery manufacturer’s documentation rather than assuming a value. Don’t infer a safe amperage from the connector’s appearance or from ratings listed for other connector families. If you can’t verify the applicable specification, contact the manufacturer before choosing a battery or operating your vehicle.
Don’t assume a Traxxas iD connector shares the current limit of a TRX adapter. The adapter’s connector type alone doesn’t establish its rating, and its weakest component may restrict the system. Assess the complete power path: battery, iD connector, adapter, wiring, and vehicle electronics. Confirm that every component can handle the expected current under your operating conditions. If any component’s capacity is inadequate, don’t run the setup; select compatible, documented components instead.
Battery-to-Charger Adapter Selection
Before connecting a battery to a charger, match the adapter’s input to the battery’s discharge plug and its output to the charger’s charge lead. Identify your battery’s plug—XT60, XT90, EC5, or T/Deans—and select an adapter with that matching input. Match its output to the charger’s lead; for example, an XT60 battery can connect to an EC5 input using the XT60-to-EC5 adapter (SKU ADPXT60TEC5), $6.99. For EC5 batteries, choose the EC5-to-XT60 adapter (SKU ADPEC5TXT60) for $5.99, or the EC5-to-XT90 adapter (SKU ADPEC5TXT90) for $6.99. Before charging, verify polarity and current suitability. An adapter changes connector type only; it doesn’t alter voltage or charging requirements. When balance charging, connect the balance plug as well as the discharge plug, so the charger can monitor cell voltage.
Hardcase LiPo Bullet Connections
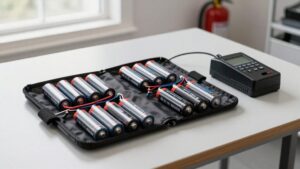
Hardcase LiPo packs use keyed bullet-style discharge connectors—commonly XT60, XT90, or EC5—selected to suit the setup’s current demands. Check the battery’s discharge plug and confirm that it matches your ESC input before connecting power. XT60 connectors are keyed and typically suit moderate-power systems drawing about 30–60 A; XT90 connectors serve higher-current applications exceeding 90 A.
EC5 connectors also use bullet contacts and commonly support roughly 80–120 A in RC cars, boats, and larger aircraft. Choose according to the model’s expected current, not appearance alone, and keep the connector rating within the system’s limits.
Never mistake the discharge plug for the balance lead: the balance lead lets your charger monitor and balance individual cell voltages during charging. Inspect contacts for damage before each powered run.
XT60-to-EC5 Adapter Pairing
If your LiPo has an XT60 plug and your ESC requires EC5, the 3 Packs XT60-to-EC5 adapter (SKU ADPXT60TEC5) provides the connection; it’s listed at $6.99, with 10+ in stock and no reviews. Before you connect it, confirm your battery uses XT60 and your ESC or power system accepts EC5. Check that current demands stay within every connector and adapter rating. EC5 connectors commonly suit higher-power applications, typically about 80 to 120A, though actual capacity varies by component and operating conditions. The adapter changes the interface; it doesn’t raise your system’s current capacity.
Preventing Reverse-Polarity Connections
An XT60-to-EC5 adapter changes the connector interface, but it doesn’t guarantee correct polarity. Verify the positive and negative markings before connecting; keyed XT60s help prevent incorrect insertion, but they don’t replace that check.
- Match your battery’s plug to the adapter’s correct input, then connect its output to your ESC or charger.
- Check polarity end to end; changing connector types doesn’t confirm wiring is correct.
- Inspect your LiPo plug and wires for damage or exposed conductors, and use a multimeter to verify an unfamiliar adapter’s output before equipment.
Never force a mismatched connector: pressure can damage contacts or compromise insulation. If readings don’t match the marked polarity, don’t connect the battery. Correct the wiring or replace the adapter, then recheck before powering equipment or attaching the LiPo pack.
Traxxas iD Port Identification
Traxxas iD is a battery identification and charging system, not the standard Traxxas TRX power plug. Don’t identify a battery solely by brand name: inspect the port’s shape and contact layout, then compare them with the battery and charger documentation. The iD label describes an identification and charging system; it doesn’t confirm that a standard TRX adapter will fit or communicate correctly.
- Check the connector’s outline and contacts before you connect anything.
- Verify the iD match in manuals; don’t rely on appearance alone.
- Use only a confirmed iD-compatible charger or adapter.
Available listings cover TRX plugs for T/Deans, EC5, XT60, and XT90 batteries, but they don’t specify adapters for iD ports. Never force a TRX adapter into an iD port; stop and verify compatibility first.
Conclusion
Use the chart to match connector types, polarity, and gender before you connect a battery, charger, or adapter. Check the manufacturer’s current limits and confirm that each plug’s contacts align; don’t force a mismatch. For hardcase packs, verify bullet connections and adapter compatibility, including XT60-to-EC5 pairings and Traxxas iD port identification. Before charging, inspect cables for damage and use only a correctly rated charger. If polarity or fit remains uncertain, stop and check the documentation.