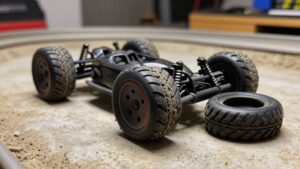
Are RC Body Shells Universal? How to Check Fitment First
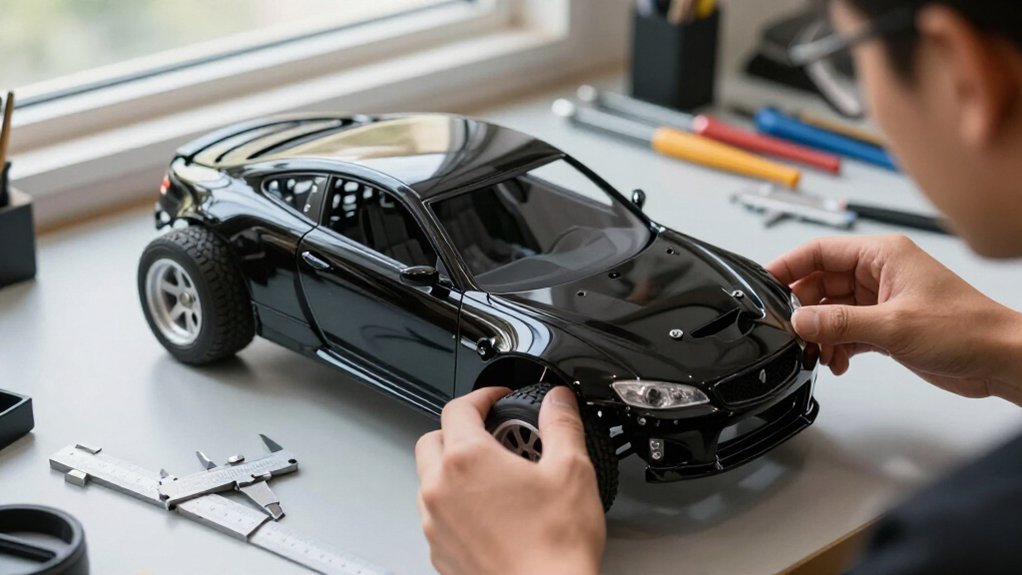
No, RC body shells aren’t universal, even when both are labeled 1/10 scale. Before buying, measure your chassis wheelbase axle center to axle center and tire-to-tire width, then compare them with the shell’s specifications.
Check body-post alignment, wheel-arch position, and clearance at steering lock and through suspension travel.
For trucks, match cab and bed proportions. Test-fit before drilling or trimming, and confirm the battery and electronics clear the shell.
Material and paint choices depend on use. More follows.
1/10 Shell Fitment Isn’T Universal
A 1/10 scale label doesn’t guarantee a fit: it’s a general size ratio, not a standard for shell dimensions.
Two vehicles marked 1/10 can use different chassis layouts and body styles, so their shells may not interchange. A touring car shell, for example, won’t necessarily suit a truck simply because both models share the same scale label. Manufacturers use the scale designation to describe approximate overall size; they don’t follow one shared shell profile or mounting layout across every vehicle category.
Treat the scale as a starting point when shopping, then confirm the shell is listed for your vehicle type. Before buying, check the manufacturer’s fitment details and inspect body-post positions and tire clearance; these can differ even between shells with otherwise similar dimensions.
Wheelbase and Width Check
To check wheelbase, place the vehicle on a flat surface and measure from the center of the front axle to the center of the rear axle. Measure width from the outer edge of one tire to the outer edge of the opposite tire. Check both the front and rear, then record the wider measurement. Write down both dimensions in millimeters and compare them with the body shell’s listed wheelbase and width. A “1/10 scale” label alone doesn’t confirm fit.
As a reference, electric touring car shells commonly suit wheelbases of about 255 to 260 mm. Drift and nitro touring car bodies are commonly 200 mm wide. Short Course bodies typically measure around 290 to 300 mm wide, but width alone isn’t enough: check the wheelbase and available clearances too. A shell can match one dimension yet still be unsuitable.
Body Post Mount Alignment
Even when wheelbase and width match, the body posts may not line up with the shell.
Before drilling, place the shell over your assembled chassis and mark each point where a post meets it. Check that every mark centers over its post and that the shell sits level without pressure. If holes miss, don’t force the shell into position; that can leave it tilted or strain the mounts.
Drill or ream each marked hole carefully, removing only enough material for a fit. Then secure the shell with clips and check for movement or misalignment. Recheck the fit after clipping; the shell should remain seated and stable. If the posts don’t reach the shell, check whether extended body mounts are available for the chassis.
Body Material Differences
Your shell’s material affects weight, impact resistance, finish durability, and fit compatibility. Polycarbonate (Lexan) flexes under impacts, while ABS and PS shells are stiffer, heavier, and more prone to cracking. Check the shell’s dimensions and mounting points against your chassis; material alone doesn’t guarantee fit.
Polycarbonate (Lexan) Shells
Polycarbonate, often called Lexan, is lightweight, flexible, and impact-resistant, so it’s popular for racing and bashing shells. Its flex helps absorb impacts, but it doesn’t confirm chassis fit; check wheelbase, width, and mounting positions before buying. Paint clear shells inside with polycarbonate paint to protect the finish from scuffs. Choose clear for custom colors and decals, or factory-painted for immediate use with a fixed design.
| Check | Lexan trait | Practical choice |
|---|---|---|
| Impact | Absorbs shocks | Bashing use |
| Finish | Inside polycarbonate paint | Scuff protection |
| Appearance | Clear/factory-painted | Custom/fixed design |
| Detail | Fewer molded scale details | Prioritize lower weight |
ABS and PS Plastics
Unlike flexible Lexan bodies, ABS and PS shells use stiff hard plastic that can reproduce details such as grilles and door handles.
Their rigidity and added weight can benefit crawling, where extra mass may help keep the vehicle planted. However, that stiffness makes them less forgiving when you hit obstacles or tumble. Compared with Lexan, ABS and PS are more likely to crack or splinter during hard impacts, so inspect shells after a rollover.
Because manufacturers paint hard-plastic bodies on the outside, branches, rocks, and racing contact can scratch the finish. You can choose ABS or PS when molded scale detail and stiffness matter most. Consider Lexan instead if you’re prioritizing low weight and impact resistance for the way you drive most often.
Material and Fit Compatibility
Material affects both how an RC body performs and whether it fits your chassis.
A polycarbonate (Lexan) shell is light, flexible, and impact-resistant, so you can use it for racing or bashing. You paint it inside with flexible paint, which helps shield the finish from scuffs. ABS and PS hard-plastic shells preserve molded details such as grilles and door handles, but they’re heavier and more likely to crack or splinter on hard impacts. Because you paint these bodies outside, their finish can scratch during racing or crawling.
Don’t assume matching wheelbase and width guarantee fit. Before you buy a shell, check tire clearance and confirm it won’t contact chassis components. Then pre-fit it on your chassis and compare body-post positions; they can differ between models.
Truck Bed and Cab Shape
Match the shell’s cab shape, bed style, and cab-to-bed proportions to your chassis; 1/10-scale trucks can differ substantially in dimensions. Compare cab and bed lengths, overall width, and wheel-arch alignment with the original shell or manufacturer specs. Before trimming, pre-fit the shell to confirm the bed clears chassis parts and mounts, then mark any needed post holes or cutouts.
Cab Shape Compatibility
Cab shape can prevent an RC body shell from fitting even when its wheelbase and width match the chassis. Cab length, roof height, and windshield angle vary between shells, changing how the body sits over your chassis and tires. Compare the cab’s proportions with the chassis, wheels, and intended vehicle style before you buy; a scale-looking profile doesn’t confirm clearance.
Check that the wheel arches center over the tires and that the cab clears body posts, shock towers, and other chassis components. A mismatch can force the shell upward, shift its position, or prevent secure mounting. If possible, pre-fit the shell and inspect it at normal ride height through steering and suspension travel. Also check the manufacturer’s compatibility list for your exact vehicle model.
Bed Length and Style
Even when wheelbase and width match, a truck shell’s cab style and bed length must suit the chassis. Match the shell’s cab shape—single cab, crew cab, or cab-over—to your chassis and intended truck style. Compare bed length with the chassis layout; short-bed and long-bed shells can differ despite matching wheelbase and width.
Check that the bed sits over the rear axle and tires, with enough clearance for suspension movement. Verify the shell’s overall length and rear overhang; an extended bed may interfere with the bumper or chassis. Before cutting or drilling, pre-fit the shell and inspect cab, bed, wheel-well, and body-post positions. Confirm wheel wells align with the tires and body posts meet the chassis mounts. This check can reveal fitment issues before you commit to permanent mounting.
Cab-to-Bed Proportions
A shell can fit the wheelbase and width yet still look wrong if its cab-to-bed proportions don’t suit the truck’s style. Compare the shell’s cab length, bed length, and cab position relative to the axles with photos or dimensions of your target vehicle. Two shells with matching wheelbase and width can still create distinctly different profiles.
Check bed height and shape, too. A flat, short-course-style bed won’t look or clear the tires like a taller pickup bed. For a scale truck or crawler, match the cab and bed proportions to your chassis and wheel placement; the “1/10 scale” label alone doesn’t confirm a visual fit.
Before you cut or drill, place the shell on the chassis. Confirm that the cab, bed, and wheel arches align with the chassis and tires. Adjust your shell choice before making permanent mounting changes.
Bashing Versus Shelf Display
If you plan to bash your RC, choose a flexible polycarbonate (Lexan) shell: it’s lightweight and designed to flex on impact. Lexan bodies are typically painted on the inside, which helps protect the finish from scuffs during use.
For a shelf model, consider an ABS or PS hard-plastic shell. These materials can reproduce sharper molded details, including grilles and door handles, giving you a more scale-focused display. However, hard plastic weighs more and may crack or splinter in a hard tumble. Match the material to how you’ll use the vehicle: prioritize impact resistance for bashing, or molded detail and appearance when the model will mainly sit on a shelf. Neither material is universally best; your use determines the practical choice in regular rough use.
Electronics and Battery Clearance
Once the RC car is assembled, check the height and position of the battery, ESC, receiver, motor, and other protruding parts. Compare each measurement with the shell’s interior height and shape. Confirm the shell clears components without pressing on wires or connectors. Check whether you can remove and install the battery through the shell opening, especially when it sits high or near a body post.
Allow clearance for suspension movement and chassis flex; otherwise, components may strike the shell while you drive. Before cutting or drilling, pre-fit the shell on its mounts. Gently press it into the mounted position and inspect for contact or trapped wiring. If the shell touches an electronic part, identify the interference and adjust the fit before making permanent openings.
Misjudging Wheel Arch Placement
Even when the wheelbase matches, the shell’s arches may not line up with your tires. Before buying, compare each arch’s location with the center of its corresponding wheel, measuring in millimeters. A matching wheelbase doesn’t confirm that the openings sit correctly.
Check clearance around every tire through full suspension travel and at steering lock; tires can rub even while your vehicle sits level. Misaligned or undersized arches may catch tires, slow your RC car, and damage the shell, especially over bumps or with larger tires.
- Pre-fit the shell before cutting.
- Center it over the chassis and wheels.
- Mark each opening only after checking alignment.
- Cycle suspension and steering to reveal contact points.
- Use curved body scissors to trim arches gradually, maintaining adequate tire clearance.
Paint and Finish Choices
Choose a finish based on the shell’s material: clear polycarbonate takes flexible RC body paint on the inside, while hard-plastic ABS or PS bodies are painted on the outside and can scratch during racing or crawling.
Check the shell material before buying paint; polycarbonate and hard plastic need different methods. With clear Lexan, choose custom colors and decals, then apply flexible RC paint inside. This placement helps protect the finish from driving scuffs.
A pre-painted body is ready to mount and saves time, but its design is fixed. Paint ABS or PS on the outside, where racing or crawling can scratch the finish. Match your paint choice to the material before painting and how you drive; don’t assume every shell takes the same finish.
Conclusion
Before you buy an RC body shell, check your chassis’s wheelbase, width, and body-post positions against the shell’s dimensions. Confirm that the wheel arches align with your tires, and allow clearance for suspension travel, electronics, and the battery. Match the shell’s shape and material to your vehicle and how you’ll use it, whether you bash or display it. Don’t assume “1/10 scale” guarantees fit. Verify the manufacturer’s measurements, then choose a compatible paint and finish.