How to Set Up an RC Touring Car: Ride Height, Camber and Droop
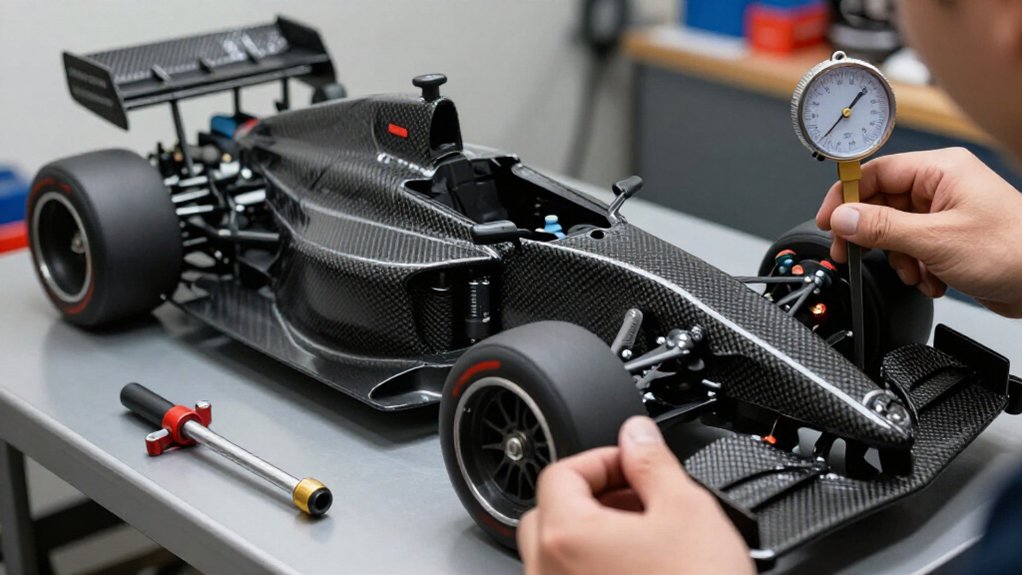
Set up your touring car with its race-ready battery, wheels, tires, and body on a level board, then roll it to settle the suspension.
Mark the chassis centerline and measure ride height from chassis sections; start near 24 mm front and 27 mm rear. Set camber to about −1° to −2° per side.
Measure droop using repeatable reference points, match left and right, and recheck after adjustments. You’ll learn how tire wear and checks guide refinements.
Touring Car Setup Targets
Set ride height with the battery, body, wheels, and tires installed, then roll the car forward to settle the suspension. Place the car on a level surface and measure from flat chassis sections, not suspension arms or bodywork. Use 24 mm at the front and 27 mm at the rear as typical starting targets; adjust in small increments to suit your track and handling goals.
Check both ends after each change, because altering one setting can affect the other. Set camber near −1° to −2° using a camber gauge on each side. Compare left and right readings, then adjust until they match. Recheck measurements after the car settles. Record your values so you can reproduce the setup and identify which changes improve consistency.
Droop Gauge and Setup Board
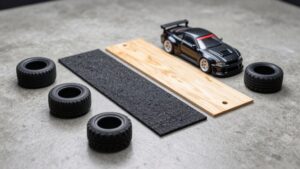
For repeatable droop measurements, place the car on a flat setup board with the battery and race-ready equipment installed.
- With calipers, measure from the wheel-nut center to the shock-mounting-screw center; use 102 mm as an example target.
- Turn the droop screw with a 2 mm hex driver, matching each adjustment on both sides.
- For the alternate method, remove the wheels, set the chassis on droop blocks, and position a ride-height gauge beneath the axle thread.
- Start with 29 mm front and 25 mm rear, then recheck both sides for consistency.
Keep the board level and avoid pressing down on the chassis while you read values. Record your method and targets, since caliper and block readings use different reference points. Repeat measurements after adjustments.
Step 1: Mark the Chassis Centerline
Before comparing left- and right-side suspension settings, mark the chassis centerline as a shared reference.
Use a straightedge and fine marker to draw a clear line along the chassis’s longitudinal midpoint. Choose a flat central section where the mark remains visible during setup. Align it with the chassis front-to-rear axis; don’t follow the body shell or steering angle, which can shift relative to the chassis.
Then measure corresponding suspension settings symmetrically from this line. Using one consistent reference helps you identify left-right differences instead of confusing them with measurement offsets. Before marking, inspect the area for screws, moving suspension parts, or zones that flex. Keep the line clear of these features so hardware won’t obscure it and chassis movement won’t quickly wear it away.
Step 2: Set Chassis Ride Height
Establish ride height with the battery, body, wheels, and tires installed so you measure the car at race-ready weight. Place the car on a flat surface and roll it forward to settle the suspension before taking measurements. Measure from the ground to a flat chassis section behind the front gearbox, then repeat at a flat section ahead of the rear gearbox.
As a practical starting point, target 24 mm at the front and 27 mm at the rear. Keep the gauge vertical and read each location consistently. Adjust the shock collars to bring the chassis to those heights. Lowering a collar raises ride height; raising a collar lowers it. Make small changes, then roll the car forward again once settled, and recheck both ends.
Step 3: Set Front Droop Targets
With ride height set, set front droop at race-ready weight, with the battery, wheels, tires, and body installed. Use calipers to measure from the wheel-nut center to the shock-mounting-screw center; an example target is 102 mm. Turn the droop screw with a 2 mm hex driver until you reach your target. Keep the chassis supported consistently and take each reading at the same suspension position.
Alternatively, remove the wheels and place the car on droop blocks. Use a ride-height gauge beneath the axle thread; an example front target is 29 mm. Verify the gauge sits squarely under the axle thread for a repeatable reading. Adjust both front sides evenly, then recheck each measurement before driving. If readings differ, adjust carefully and measure again to confirm.
Step 4: Adjust Rear Droop Evenly
To set rear droop evenly, remove the wheels, place the car on droop blocks, and position a ride-height gauge beneath each rear axle thread. Turn each rear droop screw in small increments until the gauge reaches your target; 25 mm is one example. Keep the chassis settled on the blocks and avoid lifting or pressing it while you work, since that can change the suspension extension.
Set both sides to the same extension, then secure the screws without disturbing their positions. If you don’t have a gauge, use calipers to measure from the wheel-nut center to the shock-mounting-screw center, and set the other side to that dimension. After adjusting, repeat the measurement on each side. Recheck rear droop before racing, because handling or trackside changes can shift a screw and alter the setting. Keep your gauge placement consistent and the chassis level for repeatable measurements during each adjustment.
Step 5: Compare Left-To-Right Droop Readings
Compare left-to-right droop readings using the same method and reference points on both sides. This confirms a fair comparison. For caliper checks, measure from the center of each wheel nut to the center of its shock-mounting screw; 102 mm is an example target. For a droop-block check, remove the wheels, set the car on the blocks, and measure beneath each axle thread. Example targets are 29 mm at the front and 25 mm at the rear.
Compare left and right at each end, rather than comparing front and rear values. If readings differ, adjust the droop screws evenly with a 2 mm hex driver, then recheck both sides. Unequal droop can make the car respond inconsistently through corners, so verify symmetry before evaluating handling.
Step 6: Lock the Adjustment Collars
Once you’ve set ride height, tighten each shock adjustment collar against its lock ring, if fitted, so it can’t turn while driving. Keep the collars on both sides of each axle at matching positions; this helps preserve ride height. Don’t assume equal turns guarantee equal height, so use readings as your reference.
Place the car on a flat surface with the battery, wheels, and body installed, then recheck ride height. Roll it to let the suspension settle and measure again. If a reading has shifted, adjust the collar and lock it again. Tighten enough to secure the collar; excessive force can damage its threads or the shock body.
Repeat the check after correction, using the configuration and reference points, so settings remain consistent.
Verify Tire Contact Patch
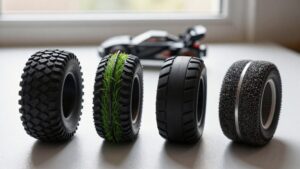
With the battery, body, wheels, and tires installed, set the car on a flat surface to check its race-ready tire contact. Look across all four tires and confirm each tread sits evenly on the surface; neither the inner nor outer edge should carry most of the load.
Place a camber gauge against each wheel and use about −1° to −2° of negative camber as a starting point. If contact differs, adjust the upper suspension links in small, matched increments. Compare the left and right wheels so the settings remain consistent.
Roll the car forward to let the suspension settle, then inspect the contact again. Recheck before you measure or change ride height, camber, or droop, since settling can alter the readings.
Diagnose Tire Wear Patterns
Read tire wear as evidence of how the car’s setup loads each contact patch. Heavy shoulder wear suggests excessive camber. At race-ready weight, gauge camber against a −1° to −2° starting point.
| Pattern | Check | Response |
|---|---|---|
| Shoulder wear | Camber | Measure at race-ready weight |
| Uneven front wear | Toe mismatch | Inspect toe and steering tie rods |
| One tire wears fast | Side-to-side difference | Compare camber and droop |
| Wear changes after laps | Settling alters geometry | Recheck ride height, camber, droop |
Toe-out can sharpen turn-in but may make your car wander. If one tire wears rapidly, measure both sides and adjust camber and droop evenly.
Compare wear after several laps with your baseline; suspension can settle and shift geometry. Record patterns beside setup measurements in your notebook to compare settings across tracks.
Inspect Suspension Ball Cups
Before setting ride height, camber, or droop, inspect every suspension ball cup for cracks, splits, and looseness. Check that each cup snaps securely onto its ball stud and pivots smoothly without binding. Replace any worn or damaged cup; excess play can make your suspension measurements inconsistent and alter handling.
Confirm every cup sits fully seated, then compare left and right link lengths and verify both sides move freely. After inspection or replacement, cycle the suspension through its full travel. Watch for binding, and check that no cup pops off its stud. If you find play, isolate the affected link before adjusting geometry; don’t compensate with ride-height collars or turnbuckles. Recheck engagement under light hand pressure, then repeat the travel test on both sides carefully.
Conclusion
You’ve established a repeatable touring-car baseline by measuring ride height and droop on a level setup board, then confirming camber and tire contact. Keep the chassis centered, set each axle to your target, and lock adjustment collars before rechecking measurements. Inspect the contact patch and tire wear after running; use uneven wear to guide corrections.
Finally, check ball cups for play or binding. Record every change so you can reproduce the setup and isolate its effects.