
How to Bind an RC Transmitter and Receiver in Minutes
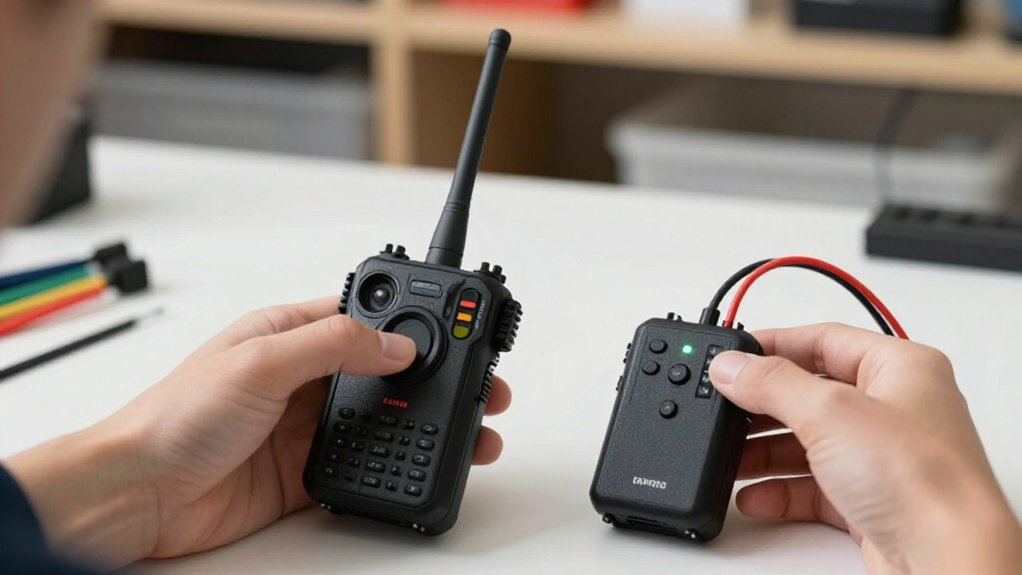
To bind an RC transmitter and receiver, first confirm their protocol, generation, radio mode, and voltage compatibility, then charge the transmitter and select the correct model memory.
Restrain the vehicle, remove aircraft propellers, and prepare the receiver in bind mode exactly as its manual specifies. Start the transmitter’s Bind command and wait for confirmation.
Power-cycle, test servo direction, secure antennas as directed, store the bind plug, then verify failsafe with model restrained. You’ll find details below.
Protocol Compatibility Check
Before binding, confirm that the transmitter and receiver support the same protocol, generation, and radio mode; sharing a brand or 2.4 GHz frequency isn’t enough.
Check both model numbers against the manufacturer’s compatibility chart. Verify any required transmitter module, firmware version, and regional variant before you proceed. Brand names alone don’t establish interoperability: FlySky AFHDS, AFHDS 2A, and AFHDS 3 are distinct systems. Futaba S-FHSS and FASST also use different systems, so confirm the chart lists your exact transmitter–receiver pairing.
Match the receiver’s protocol, generation, and radio mode to the transmitter’s settings; don’t assume a fallback. If the chart specifies a firmware update or compatible module, verify that requirement before attempting to bind. Check the receiver’s voltage requirements separately. Protocol compatibility won’t guarantee power.
Charge the Transmitter Battery
Charge the transmitter before binding so it stays powered throughout setup. Check the battery indicator or consult your transmitter’s manual to verify sufficient charge for the binding procedure. Don’t rely on a reading you can’t interpret; resolve a low-battery warning before you continue.
- Switch the transmitter off before charging, unless its manual explicitly permits charging while powered on.
- Select the manufacturer-approved charger specified for your battery type.
- Follow the manual’s charging method, including connection and settings.
- Allow the battery to reach charge, then recheck the indicator before binding.
Keep the transmitter disconnected from binding while it charges. Once its status confirms reserve, you can proceed with setup without risking an interruption from a battery. If the indicator remains unclear, use the manual’s guidance rather than guessing.
Step 1: Restrain the RC Model
Restrain the model before powering the receiver so it can’t move unexpectedly during binding or control checks. For a car, place it on a stand with wheels clear of the ground, then verify that the chassis can’t shift or roll.
For an aircraft, remove the propeller before you power the model; this prevents a motor start from causing injury or damage. Keep the model stable and away from people whenever receiver power is on. Secure or immobilize moving parts, and keep your hands clear of wheels, propellers, linkages, and rotating hazards. Set the throttle to its safe position before applying power, and enable throttle cut if your transmitter provides it. Maintain these precautions throughout binding and control checks, even if the model appears inactive.
Step 2: Receiver Bind-Mode Preparation
With the model secured and throttle set safely, check the receiver manual for its bind button, port, plug, or required startup sequence. Before powering it, confirm that your transmitter and receiver support the same protocol and radio mode; matching brands or a shared 2.4-GHz label alone don’t establish compatibility. Select the intended transmitter model memory and verify its protocol settings. Remove propellers or rotor blades where applicable, even though you’ve restrained the model.
Connect a suitable power source with correct polarity. Check the receiver’s specified bind-mode procedure, including any required plug placement or startup order. Don’t improvise connections or power sequencing; incorrect polarity can damage equipment. Once powered as directed, observe the receiver’s LED pattern and compare it with the manual’s description exactly.
Step 3: Activate the Transmitter’s Bind Command
Once the receiver is in bind mode, confirm the transmitter’s selected model memory and protocol match the receiver.
Check that both units support the same protocol and radio mode; a shared brand or 2.4 GHz frequency doesn’t establish compatibility. Verify the chosen model memory before you issue the command, since an incorrect profile can prevent a link. Activate bind mode as the transmitter manual specifies. Depending on the design, hold its bind button while powering on, or open the Bind menu and select Bind.
With a screen transmitter, complete the receiver’s bind-mode preparation first, then start Bind from the transmitter menu. Keep the transmitter at the manufacturer’s specified distance from the receiver. Wait for the transmitter’s confirmation or connection message before proceeding.
Step 4: Receiver Light Confirmation
Watch the receiver’s LED and compare its pattern with the manual: flashing commonly indicates bind mode or a search, while a steady light often confirms a successful bind. Because each receiver may use different LED meanings and patterns, consult its manual for your model’s exact confirmation signal. If the LED keeps flashing, verify that the transmitter remains in bind mode and both devices use compatible protocols.
Don’t infer success from a brief change in brightness or color; follow the documented pattern and allow the receiver time to respond. Once the light confirms binding, power-cycle the system as directed, then check that the receiver reconnects to the transmitter and returns to its confirmed state. If it doesn’t, recheck the bind procedure before operating your model.
Step 5: Set Model Memory First
Before binding, select or create the model memory for the vehicle so the transmitter uses the correct stored settings. Open the model-selection menu and choose the profile assigned to this vehicle. Verify its receiver protocol, radio mode, and any required module settings before you enter bind mode; an incorrect value can prevent a reliable connection or produce unexpected control behavior. If your transmitter supports model matching, use the intended profile, because a receiver bound to a different memory may not connect as expected.
When one transmitter controls several vehicles, create a separate, clearly named memory for each model. Then check the active model name on the screen once more. Confirm that it matches the vehicle on your workbench before proceeding, so you don’t bind or test the wrong setup. Keep these checks in sequence: select, verify, and confirm. Do this before starting binding.
Step 6: Store the Bind Plug Safely
After binding, remove the bind plug from the receiver’s dedicated bind port before operating the model.
Set the plug aside so you don’t misplace it. Choose a labeled, dry storage location you can identify later, such as a container marked “bind plug.” Keep the plug separated from loose metal objects, which could contact its terminals, and protect it from moisture that could corrode or damage those contacts. Don’t store it inside the receiver’s bind port unless the receiver manual specifically directs you to do so.
Before putting the plug away, check your receiver manual for model-specific storage instructions or guidance about the bind port. Follow that guidance if it differs from practice, and return the plug to its labeled location after use.
Servo Direction Test
To test servo direction, secure the model, raise its drive wheels off the ground or remove its propellers, then power on the transmitter and receiver.
Keep the model restrained and hands clear of moving linkages. Move one transmitter stick or control at a time, and watch its corresponding servo. Confirm that each servo travels smoothly in the intended direction.
Test steering separately: command left and right, verifying the linkage follows each input. Then test throttle and confirm the channel responds safely, without unexpected motor operation.
If a servo moves the wrong way, reverse that channel in your transmitter settings. Never reverse plug polarity. Centre trims before adjustments, then adjust endpoints only as needed. Don’t force a servo against its mechanical limits. Repeat after adjustments.
Receiver Antenna Placement
Place the receiver antenna elements away from motors, ESCs, batteries, large metal parts, carbon fibre, and bundled power leads to reduce interference. Keep each element extended as intended; don’t cut, coil, or sharply bend it. Secure the antenna so it can’t shift into rotating parts or suffer damage during operation. Follow your receiver manufacturer’s instructions for orientation and active-element placement. If you relocate or repair an antenna, perform the manufacturer’s range test before operating the model.
| Check | Action |
|---|---|
| Interference | Keep clear of motors, ESCs, batteries, metal, carbon fibre, power leads |
| Shape | Extend as intended; don’t cut, coil, or sharply bend |
| Security | Secure against movement, damage, and rotating parts |
| Guidance and test | Follow manufacturer placement; range-test after relocation or repair |
Use the specified orientation for every element.
Recheck Failsafe Response
Once binding is complete, verify failsafe with the model restrained and all rotating hazards safely disabled.
Switch off your transmitter to simulate signal loss. Confirm the receiver moves throttle to the manufacturer’s specified safe position. Check steering and other channels’ failsafe responses against your radio system’s instructions. Keep the model restrained throughout; don’t rely on a successful bind as proof that failsafe settings are correct.
If any response seems unsafe or unclear, set failsafe using the transmitter or receiver’s procedure, then repeat the signal-loss test. Verify each channel again, including throttle, before operating the model.
Recheck failsafe after rebinding, resetting the receiver, or changing your model’s radio setup. These changes can alter stored behavior or channel assignments. Restore control only after confirming safe operation.
Conclusion
Once you’ve bound the receiver, verify that the transmitter controls the correct model and that each servo moves in the intended direction. Keep the model restrained during testing, and confirm the receiver antenna sits clear of conductive parts. Test failsafe by switching off the transmitter and checking that the controls move to their programmed safe positions. Store the bind plug securely, then repeat these checks before every first flight after significant equipment changes or repairs.
