
AC vs DC LiPo Charger: Which Setup Makes Sense for You?
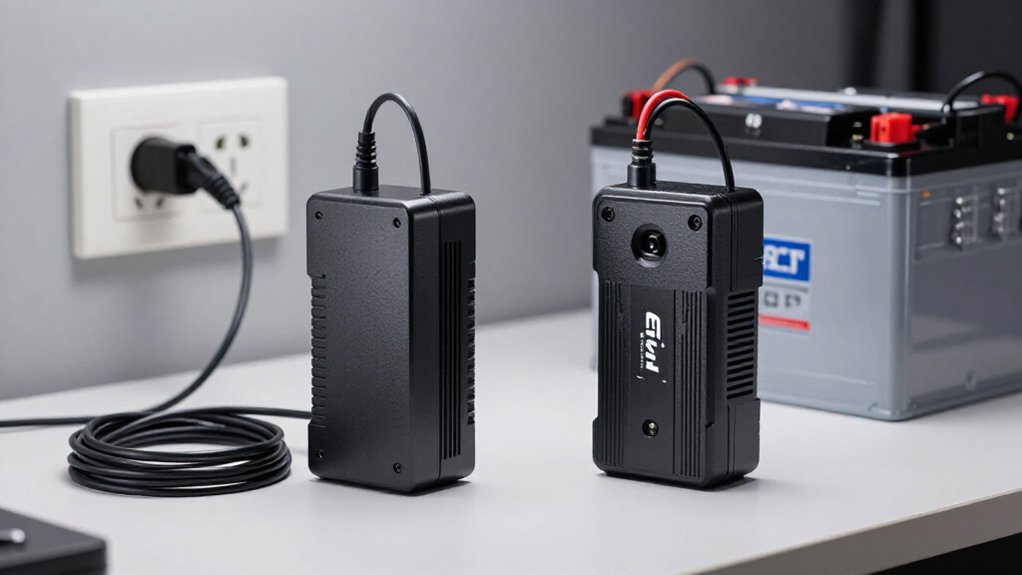
Choose a built-in AC LiPo charger if you want simple, outlet-powered charging with no external supply to match. Choose a DC-input charger when you need portable or higher-power operation and can verify source voltage, wattage, polarity, cables, and low-voltage cutoff.
Never connect a DC-only charger to mains. For 6S packs, confirm chemistry support, balance charging, per-channel limits, and combined output.
The sections ahead clarify vehicle, pit, and parallel-charging tradeoffs and help you choose with confidence.
Built-In AC, External DC
A charger with built-in AC power can plug directly into a household outlet because it contains an internal supply that converts AC mains power to DC. You get a simpler home setup, but you should verify whether advertised output applies to every input and channel.
| Setup | What you must verify |
|---|---|
| Built-in AC | Outlet compatibility and per-channel rating |
| External DC | Voltage range, continuous watts, current, connector, and cable ratings |
A DC-only charger requires an external DC source, such as a field battery or regulated bench supply; never connect it to household mains. Match source voltage to the charger’s input range. Confirm continuous wattage and current capacity: a 200 W source can’t provide 500 W, and losses reduce battery-fed output. Extra wattage doesn’t make voltage safe.
Where AC Becomes DC
The key distinction is where the charger gets the DC power it needs: a built-in AC model converts household mains to DC inside its enclosure, while a DC-only model requires a compatible external DC supply and must never connect directly to a wall outlet.
That conversion location changes your power-path checks. An AC/DC charger provides both options: it rectifies AC internally from mains or accepts external DC through its input. Before using DC, verify source voltage falls within the charger’s specified range. Then confirm current capability as specified, connector polarity, cable ratings, and compatibility. A higher-wattage supply doesn’t make incorrect voltage safe. Regardless of input, you must still set battery chemistry, cell count, and charge current, then connect main and balance leads correctly.
AC Wattage vs DC Output
Don’t assume a charger’s headline wattage applies equally to wall-powered and external-DC operation: many AC/DC models deliver less output on AC because their internal power supply limits available power.
Compare the AC rating, the DC rating, and both per-channel and total limits. A maximum figure may not support every channel simultaneously. For one 6S 5,000mAh LiPo at 1C, expect about 126W at the battery, then reserve capacity for conversion losses. Charging two such packs at 1C requires roughly 252W battery-side, so choose a compatible 300W-or-higher setup as a practical starting point. A 200W DC supply caps a higher-rated charger near 200W before losses; a larger supply can’t override the charger’s output limits. Verify ratings before charging and don’t exceed wiring, connector, or circuit limits.
Plug-and-Play vs Bench Setup
For straightforward charging, an AC charger offers the plug-and-play option: its built-in power supply connects directly to a household outlet, so you don’t need to select, wire, or manage a separate DC source. That simplicity reduces setup errors and makes portable use easier.
A DC charger better suits a bench when you want to choose the external supply. Match supply voltage and continuous wattage to the charger’s input specifications and expected load. Include conversion losses and shared output: a 200-watt supply won’t provide 200 watts at the battery. For demanding dual-channel work, verify how output is allocated between packs. Check connectors, cable ratings, cooling, and per-channel limits before energizing the system. You should also use secure connections and inspect them before each charging session.
6S Battery Fit Guide
Before you charge a 6S LiPo, confirm that the charger supports 6S LiPo chemistry, provides the correct balance-port connection, and matches the pack’s main connector. A 6S pack is 22.2V nominal and reaches 25.2V full, so select 6S mode and balance-charge it.
For a 5,000mAh pack, 1C equals 5A and needs about 126W at full charge; reserve overhead for losses. A 10Ah pack needs 10A at 1C, but a 150W channel supplies roughly 6A near nominal voltage, limiting you to about 0.6C. Charging two 5,000mAh packs together at 1C demands about 252W battery-side. Verify combined output and source limits, set current correctly, and inspect connectors before charging. Never bypass the balance lead, and stop if cell voltages, connectors, or leads show damage or heat.
Fan and Power-Supply Replacement
A replacement fan or power supply must preserve the charger’s thermal and electrical limits. If you replace a fan, use an equivalent voltage, airflow, connector, and orientation, then confirm it cools the charger under load. For a DC supply, match the charger’s input-voltage range and inspect current capacity, wattage, connectors, and cable ratings.
- Choose continuous output with loss margin: 24 V × 25 A equals 600 W; 24 V × 17 A provides about 400 W.
- Remember that a higher-wattage supply won’t force power into the charger; it draws only what its limits require.
- Verify output voltage and polarity with a multimeter before connection, then watch connector temperature and cooling initially.
Keep the LiPo balance lead connected; the charger, not supply, balances cells individually.
Vehicle-Socket 10A Limits
Most 12 V vehicle accessory sockets are fused and wired for 10 A, limiting practical input power to roughly 120 W—and less after conversion losses.
A 500 W charger can demand more than 41 A at 12 V, or about 42 A before losses. Don’t assume the socket can support its advertised charger output. Verify the socket, vehicle wiring, fuse, and connector ratings before use. Excess current can overheat contacts, damage insulation, or open the fuse.
For higher power, connect the charger to a dedicated DC source with compatible voltage, adequate continuous current, and correctly rated cables. When charging from a vehicle battery, set input low-voltage protection so you don’t discharge it below a safe level. Monitor voltage under load because wiring drop matters.
Balance-Port Current Limits
You can’t assume your charger’s advertised output current is available through its balance port; verify its separate balance-current rating. The balance lead monitors cell voltages and corrects small imbalances, so a low balance-current limit can extend charge time when cells differ substantially. Use a charger that matches your pack’s cell count and connector, and don’t exceed its specified balance-port limits.
Balance Port Current Ratings
Balance-port current determines how quickly a charger can correct cell-voltage differences, and it’s separate from the charger’s main charge-current or wattage rating. Treat this specification as a safety and pack-care parameter, not proof of overall charger performance. Before connecting a LiPo, verify:
- the stated balance-current rating;
- any per-cell and total balance-port limits;
- compatible cell count, connector condition, and correct cutoff settings.
Don’t assume a high-wattage AC/DC charger provides strong balancing capability. A standalone DC power supply only powers a charger; it cannot balance a pack itself. Use a compatible balance charger and inspect its manual before operation. Always keep balance leads intact.
Effects on Charge Time
Charge time doesn’t rise indefinitely with input wattage: once cell voltages diverge near full charge, the charger must reduce current and correct them within its specified balance-port current limit. That limit, alongside channel and input-power ratings, determines whether additional DC capacity meaningfully shortens a session. With a 6S 10 Ah pack, 150 W per channel supports roughly 6–6.75 A through much of the cycle, about 0.6C.
A 210 W channel may reach approximately 8.3 A, or 0.8C. A 24 V, 600 W supply can let a HOTA D6+ approach 300 W per pack, but it doesn’t guarantee sustained current or a faster final phase. Verify the published balance-current specification. Stop if pack behavior or temperatures become abnormal during charging.
Race-Day Pit Charging
For race-day pit charging, you can run a DC-capable charger from a generator-fed supply or field battery, but you must verify voltage, current, connectors, and low-voltage cutoff. Calculate multi-pack demand before each turnaround: two 6S 5000mAh packs at 1C require roughly 252W plus conversion losses, and your supply limits output even if the charger is rated higher. Plan a ventilated, protected charging area and check shared-channel limits, cable ratings, and source capacity before connecting packs.
Generator And Battery Power
Race-day pit charging requires a power source that can sustain the charger’s real input demand without overstressing wiring, connectors, or the source itself. When you use a field battery with a DC charger, verify its voltage, capacity, discharge rating, and connector.
- Set or watch the low-voltage cutoff so you don’t discharge the field battery beyond its safe limit.
- For generator use, run an AC charger directly, or place a compatible AC-to-DC supply ahead of a DC charger; confirm voltage, continuous wattage, and connectors.
- Calculate combined load with conversion losses and channel limits: two 6S 5000mAh packs at 1C require about 252W battery-side. A 500W load exceeds 41A at 12V before losses, so use cables, connectors, and protection—not a light-duty vehicle accessory socket.
Multi-Pack Turnaround Speed
Fast pit turnaround depends on the charger’s combined output across all channels, not its largest per-channel or headline wattage rating. Two 6S 5,000mAh packs at 1C require about 252W of battery-side power, plus conversion-loss margin.
A dual-channel unit rated at 150W per pack on AC typically supplies only 6–7A to each 5Ah pack, so it won’t reach 1C and turnaround stretches. A compatible 24V, 600W supply can raise DC capability, but you must honor channel caps and shared supply limits.
Estimate time from capacity and current: a 10Ah pack at 1C needs roughly an hour ideally, then balancing and final-charge time. Rotate spare packs, verify power sharing, connectors, cooling, and pack temperatures to keep charging within safe limits under actual race-day operating conditions consistently.
Pit-Side Safety Planning
Higher charging output only helps if your pit-side power system can support it safely and continuously. Two 6S 5000mAh packs at 1C require about 252W battery-side, so size the DC supply above that figure for charger losses and shared-channel limits.
- Verify input voltage, current rating, cables, connectors, and ports before race day; each must carry the planned load continuously.
- With a field battery, check voltage, capacity, and discharge capability. Set or monitor the low-voltage cutoff so you don’t over-discharge it.
- Keep airflow clear, watch input cutoffs and connector temperature, and test unfamiliar systems with a multimeter. Monitor pack temperature during initial charges, especially above 5A.
Also inspect polarity, fusing, and lead strain relief before connecting packs. Stop if any component becomes unusually hot immediately.
Prioritize Parallel-Charging Compatibility
Before you parallel-charge LiPo packs, verify that the charger supports their chemistry and cell count and can supply the combined current at the required voltage.
Parallel charging adds capacity, so two 6S 10Ah packs at 1C demand 20A, roughly 504W at their 25.2V full-charge voltage. On AC, a HOTA D6+ rated at 150W per channel can’t meet that load. Calculate available current from power divided by pack voltage; don’t assume a chosen C-rate is achievable.
A DC supply may raise output, but you must confirm its voltage/current capability, charger input limits, and total and per-channel ratings. Use boards only for matching cell counts and compatible pack voltages. Verify polarity, secure every connection, and confirm balancing reaches each cell group before charging begins, without exception.
Conclusion
Choose an AC charger when you need simple, self-contained charging from wall power and modest pack throughput. Choose a DC charger when you need higher output, parallel capability, or flexible field power, but size the supply, wiring, and fusing correctly. Match charger wattage to your 6S pack’s voltage and target current, respect vehicle-socket and balance-port limits, and never exceed battery ratings. For race days, build a DC bench setup; for convenience, keep AC built in.